

Outdoor pavers and natural stone can look amazing, but they also collect grime, making the whole space feel tired. Paver and stone pressure washing works well when the surface is treated as a finish, not as a slab of concrete you can blast without consequences.
A few smart choices upfront usually mean a cleaner result, fewer streaks, and far less risk of damage.
Paver and Stone Pressure Washing: The Right Preparations
A quick “surface read” should happen before water ever hits the patio. Pavers may be concrete or clay, while stone may be granite, slate, limestone, or a softer material. Each material reacts differently to pressure, cleaners, and even the spray direction.
Loose joint sand deserves attention early, too. If weeds are growing, ants are active, or the joints already look low, a careful wash matters even more. Some joint loss is normal, but a heavy-handed approach can turn a small fix into a bigger reset.
A simple prep routine helps keep the work controlled:
- Furniture and mats moved out of the way
- Leaves and grit swept off so they do not smear into muddy streaks
- Nearby plants lightly rinsed and covered if cleaners will be used
- A small test spot chosen in a less visible area
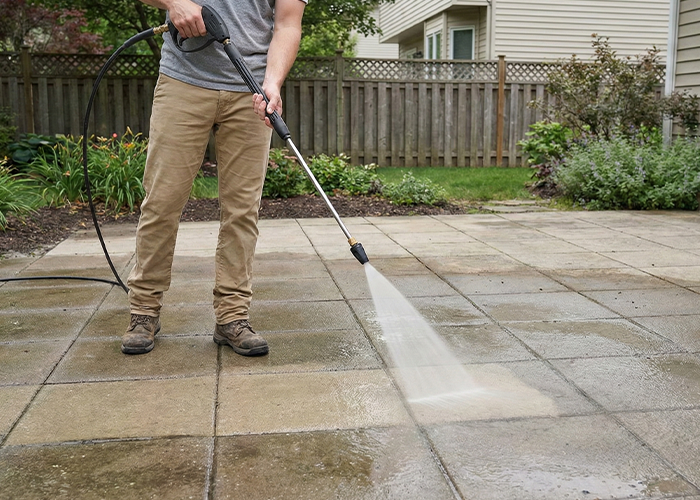
What to Set the Pressure At?
 Good results usually come from the lowest effective pressure, not the highest setting on the machine. A wide fan spray tends to be safer on pavers and stone because it spreads force across more surface area. Zero-degree and turbo-style tips can leave permanent marks on many finishes, especially softer stone or textured pavers.
Distance matters as much as PSI. A nozzle held farther back can clean well while staying gentle. The angle matters, too, since a steep, straight-down spray can dig into joints and create harsh lines.
For many homeowners, paver and stone power washing goes smoother with a steady, moderate approach: start low, test, then adjust in small steps. A slower pace often beats “more pressure” every time.
A Quick Rule for Settings
More water flow can help you clean with less pressure. When the machine has decent flow, grime lifts faster and the surface does not need to be “scrubbed” by force alone.
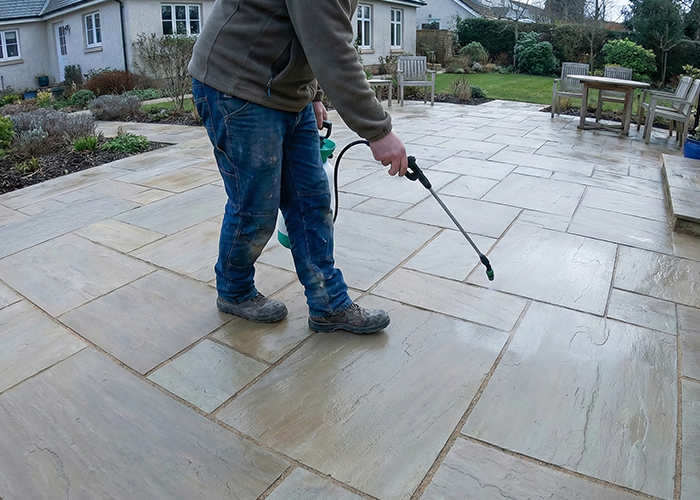
Cleaner Choices for Stone Surfaces
 Water alone handles a surprising amount of dirt, especially when the surface is swept first. When organic growth, food spills, or dark staining show up, a cleaner can help reduce the need for aggressive pressure. That is where many DIY jobs go sideways, since the wrong product can discolor stone or weaken certain finishes.
A pH-neutral cleaner is often the safest starting point for natural stone. Mild soap and water can work for routine grime, as long as rinsing is thorough and residue is not left behind. On the other hand, acidic products can damage stones like marble, limestone, and travertine, and harsh mixes can create uneven color.
A spot-treatment mindset usually protects the surface better than soaking everything. A small amount applied to the stain, a short dwell time, and a full rinse can be enough. The goal stays simple: loosen the stain so the pressure washer can rinse it away without digging into the material.
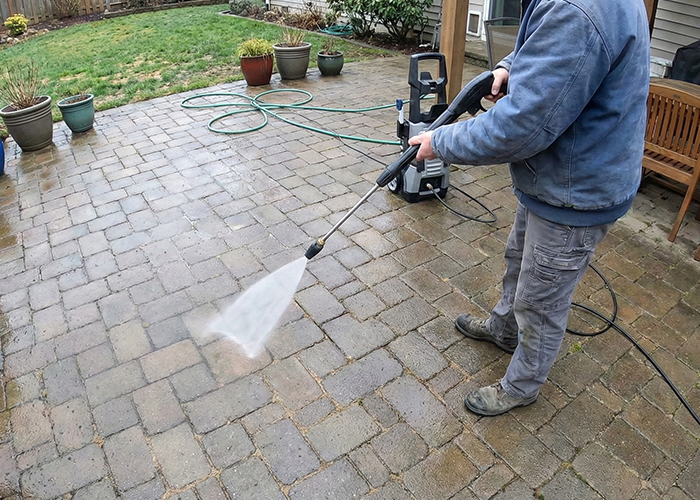
Using Patterns Instead of Force
 The technique shows up in the final look. Streaks, stop marks, and “clean stripes” tend to result from uneven distance, uneven speed, or sharp changes in direction.
A steady, overlapping pattern helps keep the finish consistent. Sections should be washed in the same direction, with each pass slightly overlapping the last. When the wand gets paused in one spot, the surface can etch or lighten in a way that does not blend back in.
A 45-degree angle often works well because the spray lifts dirt forward instead of driving water straight down into joints. Consistent distance matters just as much. Even a few inches of difference can create noticeable lines on pavers and some stone finishes.
When Flat Areas Feel Tricky
A surface cleaner attachment can help on large, flat paver areas because it keeps the distance and motion consistent. Swirl marks become less likely, and the pace feels easier to control.
Keep Joint Sand Where It Belongs
 Joint sand gets overlooked until the pavers start shifting. Pressure washing can remove sand fast, especially when the spray hits the joints directly or the nozzle is held too close. Once sand drops, weeds and ants show up faster, and pavers can lose that “locked in” feel.
A controlled wash helps, but post-wash care matters, too. Joints should be inspected after everything dries. Low areas usually need sand added back, especially on patios and walkways with regular foot traffic.
Resanding should happen only after the surface is fully dry. Damp joints can cause clumping and weak fill. When polymeric sand is used, careful installation matters, since haze and poor curing can happen if the top surface is not cleaned off well.
Sealing That Holds the Look Longer
 Sealing is not required for every surface, but it can help with stain resistance and easier maintenance. The timing matters. A wet patio should not be sealed, and freshly cleaned stone often needs a full dry-out period.
The right sealer depends on the surface. Some pavers benefit from sealers designed specifically for concrete pavers, while natural stone often does best with products meant for that stone type. A mismatch can lead to peeling, uneven gloss, or blotchy color.
A small test spot can save a lot of regret. Once a sealer changes the look, reversing it can be difficult. When the finish is important, a cautious approach is worth it.
Stains Need the Right Plan
Stains are not all the same, so one “miracle method” rarely works. A smarter approach matches the fix to the stain type and avoids turning the surface into a science experiment.
Oil stains often respond better to a dedicated degreaser or poultice-style treatment than to raw pressure. Rust stains can spread if the wrong remover is used, so a product designed for masonry or stone is usually safer than improvised household chemistry. Organic growth tends to lift with the right cleaner, light agitation, and a thorough rinse.
Paver and Stone Pressure Washing: Common Mistakes to Skip
A few mistakes show up again and again, even with careful homeowners. Most of them come down to rushing the setup or assuming all hard surfaces behave the same.
- Too much pressure used to “save time,” followed by etched spots that do not blend
- Narrow or aggressive tips used on textured pavers or softer stone
- Spray aimed directly into joints, causing heavy sand loss
- Cleaner left to dry on the surface, creating residue or discoloration
- Sealer applied before the surface fully dries
Paver and Stone Pressure Washing Done Right
Paver and stone pressure washing can refresh an outdoor space fast, but the best results usually come from restraint and consistency. A careful test spot, moderate settings, and the right cleaner choice keep the surface looking clean instead of “scarred.”
Looking for professionals who know how to clean paver and stone surfaces correctly? Washh offers residential and commercial pressure washing services. Call us today at 704.321.8000 or contact us online to get a free estimate!
Related Articles: